
Attention
You are viewing PyUnity docs under the develop branch.
As such, they are only applicable if you installed from source.
Go to https://docs.pyunity.x10.bz/en/latest/ for the most recent
release.
Tutorial 4: 2D
This tutorial we will be introducing many
new components, namely the RectTransform
and the Image2D. There is more to
2D than this, but most of the tutorial is quite
dense in new ideas.
Data types
To facilitate positioning objects, we are
going to use RectAnchors and
RectOffset. They both subclass
RectData, which means they have two
properties: min and max. They are both of
type Vector2. For now, let’s ignore the
RectAnchors.
RectOffset
By ignoring RectAnchors we can simplify
our offset to a literal rectangle. The min value
specifies the top left corner of the rectangle, and
the max value specifies the bottom right corner.
In PyUnity, the X axis goes left to right and the Y
axis goes top to bottom.
For example, a rect that is 100 pixels by 150 pixels, with a top left corner of (50, 75) would be like this:
>>> offset = RectOffset(
...     Vector2(50, 75),
...     Vector2(150, 225) # 100 + 50 and 150 + 75
... )
RectTransform
A RectTransform has 5 notable properties:
parent, anchors, offset, rotation
and pivot. parent is a read-only property,
which gets the RectTransform of its parent,
if it has one. rotation is a
float measured in degrees, and pivot is
a point between (0.0, 0.0) and (1.0, 1.0) which
defines the rotation point.
Image2D
A RectTransform can’t really do much on its own,
so we’ll look at the Image2D component. This
renders a texture in the rect that is defined from
the RectTransform. If you read tutorial 2, you
may have used the Texture2D class. Here we can
do the exact same:
>>> gameObject = GameObject("Image")
>>> transform = gameObject.AddComponent(RectTransform)
>>> transform.offset = RectOffset.Rectangle(
...     Vector2(100, 100), center=Vector2(125, 75))
>>> img = gameObject.AddComponent(Image2D)
>>> img.texture = Texture2D("python.png")
Canvas
All 2D renderers must be a descendant of a Canvas
element, which can customize the rendering of 2D
components. We don’t need to worry about that too much,
except that if we were to create an Image2D we must
make it as a child or descendant of our canvas.
canvas = GameObject("Canvas")
canvas.AddComponent(Canvas)
img = GameObject("Image", canvas)
# And so on...
Here the second argument to the GameObject constructor
specifies its parent, which must be a GameObject.
Code
from pyunity import *

scene = SceneManager.AddScene("Scene")
canvas = GameObject("Canvas")
canvas.AddComponent(Canvas)
scene.Add(canvas)

gameObject = GameObject("Image", canvas)
transform = gameObject.AddComponent(RectTransform)
transform.offset = RectOffset.Rectangle(
    Vector2(100, 100), center=Vector2(125, 75))
img = gameObject.AddComponent(Image2D)
img.texture = Texture2D("pyunity.png")
scene.Add(gameObject)

SceneManager.LoadScene(scene)
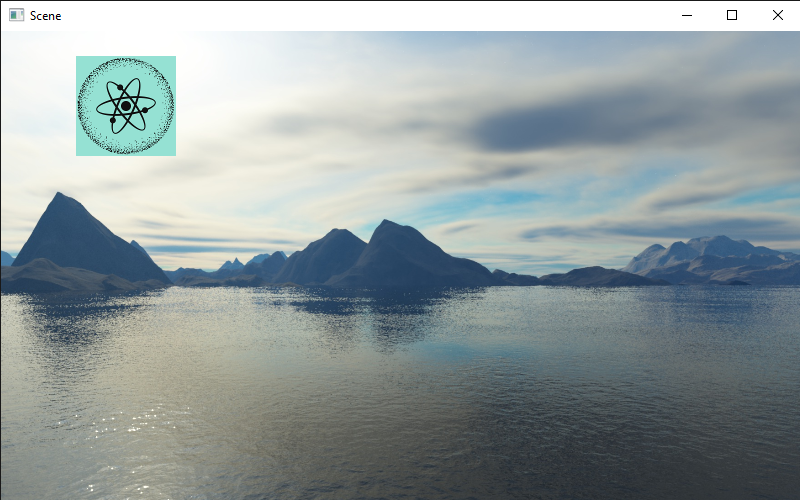
PyUnity image:

This is the result:
Interaction
The easiest way to create an interactable image
is to use the Button class. This will trigger
whenever any part of the rect is clicked on. Here
is an example:
class CallbackReceiver(Component):
    def callback():
        Logger.Log("Clicked")

# Same canvas and image code as above
...
button = gameObject.AddComponent(Button)
receiver = gameObject.AddComponent(CallbackReceiver)
button.callback = Event(receiver.callback)
Button.callback must be an Event object that
contains a method of a component added to a GameObject.
This is because when saving a PyUnity project, the
Python code itself is not saved. It is also easier to
reference a component and a method name in the saved
scene file.
If you check the docs for the Button class,
you can see two more attributes: state and
button. This specifies what state and which
button must be pressed for the callback to trigger.
If you would like more control over the button, using a Behaviour is easier as it can interact easily with other GameObjects and is created on a per-component basis. However, if you would like more interaction with the mouse, here is a method:
class HoverUpdater(Behaviour, GuiComponent):
    def HoverUpdate(self):
        Logger.Log("Hovering over component")

# Same canvas and image code as above
...
gameObject.AddComponent(HoverUpdater)
The GuiComponent class defines an abstract method
called HoverUpdate which is called whenever the mouse
is hovering over a component. This method will be called
exactly once per canvas in a single GuiComponent each frame.
In fact, this is how the Button class is implemented.
Anchors
For a 2D rect to scale with the window, we can use the
anchors property of the RectTransform. This has
two values like the offset, a min and a max.
These two values are between Vector2(0, 0) and
Vector2(1, 1), where 0 and 1 represent the left and
right of the window, or the top and bottom of the window.
The offsets are applied where the anchors are.
The easiest way to understand this is when the anchors are
a single point. For example, the default anchors are
RectAnchors(Vector2(0, 0), Vector2(0, 0)). This means
both points of the anchors are at Vector2(0, 0) so
all offsets are calculated from the top left.
If we wanted our rect to be centered in the middle at all
times, or be offset from the middle, we can set the anchors
to be at Vector2(0.5, 0.5). Likewise, if we wanted our
rect to be at the bottom right, we can use Vector2(1, 1).
This applies with two anchors: if we wanted our rect to be 50px
away from each edge of the window, we would use anchors of
RectAnchors(Vector2(0, 0), Vector2(1, 1)) and offset of
RectOffset(Vector2(50, 50), Vector2(-50, -50)). This is how
we can control the scaling of a rect with respect to the window size.
This tutorial was quite code-heavy, and it is not quite complete. If you are confused, please join our discord support server at https://discord.com/zTn48BEbF9.